DIY Clay Rainbow Ornaments

One of our favorite things to do during the month of December is making ornaments! It’s become a traditions in our homes and it’s always a great thing to make with our girls. Poppy asked to make rainbow ornaments this year, so we got out our favorite air dry clay and got crafting!
These sweet little DIY Clay Rainbow Ornaments are easy to make. The hardest part is waiting for them to dry.
Read more for the full tutorial…

Supplies: air dry clay, rolling pin, small knife, acrylic craft paint, small paintbrushes, bamboo skewer, twine
Instructions:
Step 1 – Roll out air dry clay on hard surface covered in muslin or parchment paper. Roll out to 1/4 inch or 1/2 inch thickness. Use a round cookie cutter (or glass from your kitchen) to cut out circles. Then cut circles in half to create two rainbows!
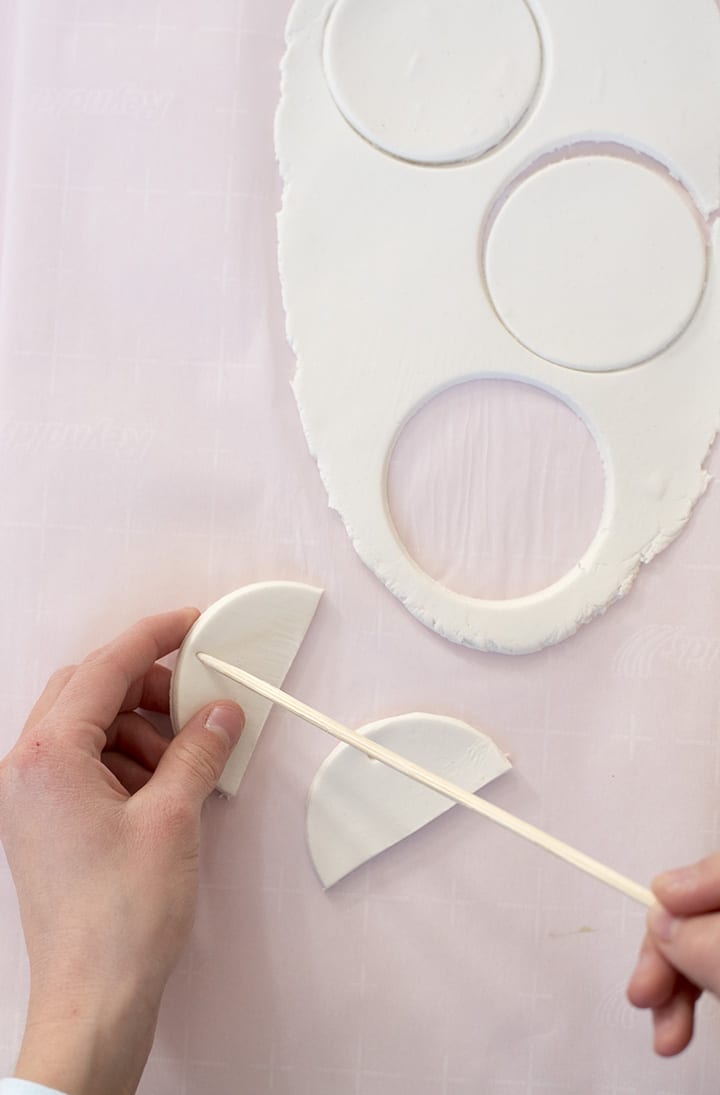
Step 2 – Using a bamboo skewer, or the end of your paintbrush, poke a hole through the top of your rainbow. Smooth out edges with your finger. Now it’s time to dry ornaments. We like to dry ours overnight. Here’s a tip: place ornaments under a book so they dry flat.

Step 3 – Time to paint! We used craft acrylic paint to add the rainbow stripes. Let dry and then string thin twine and your ornaments are ready for gifting or to hang on your tree!
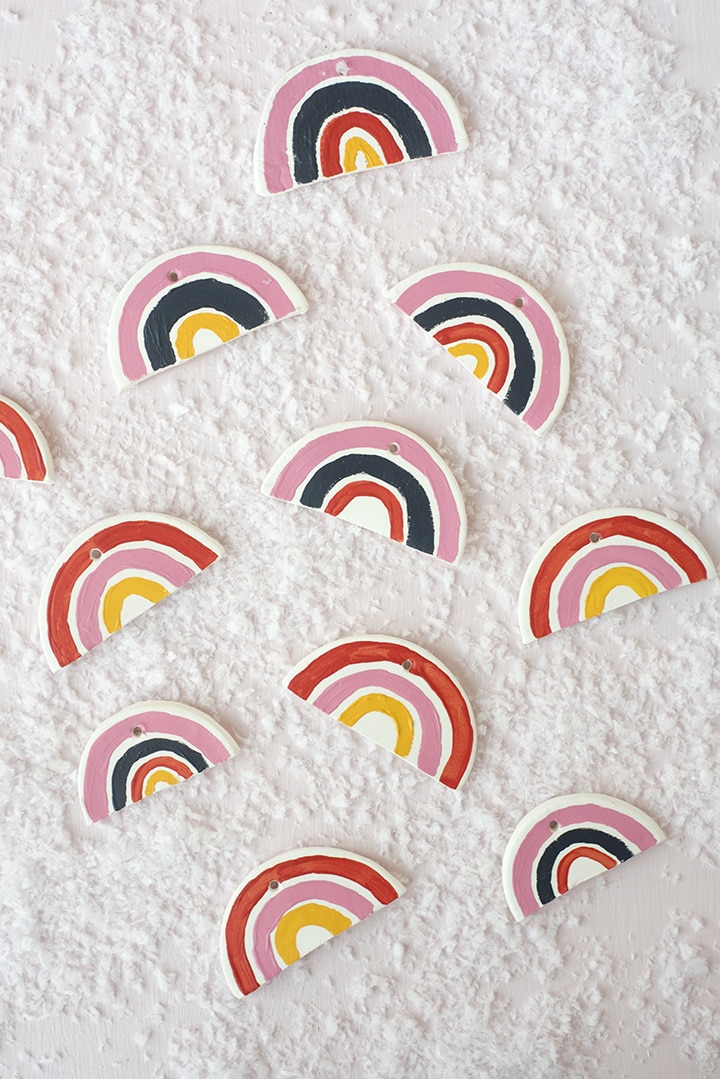


I loveeeee these!!
Thank you , Laurel!