DIY Drawstring Backpack
Learn how to make this beginner sewing project, the DIY Drawstring Backpack.
post by Sara
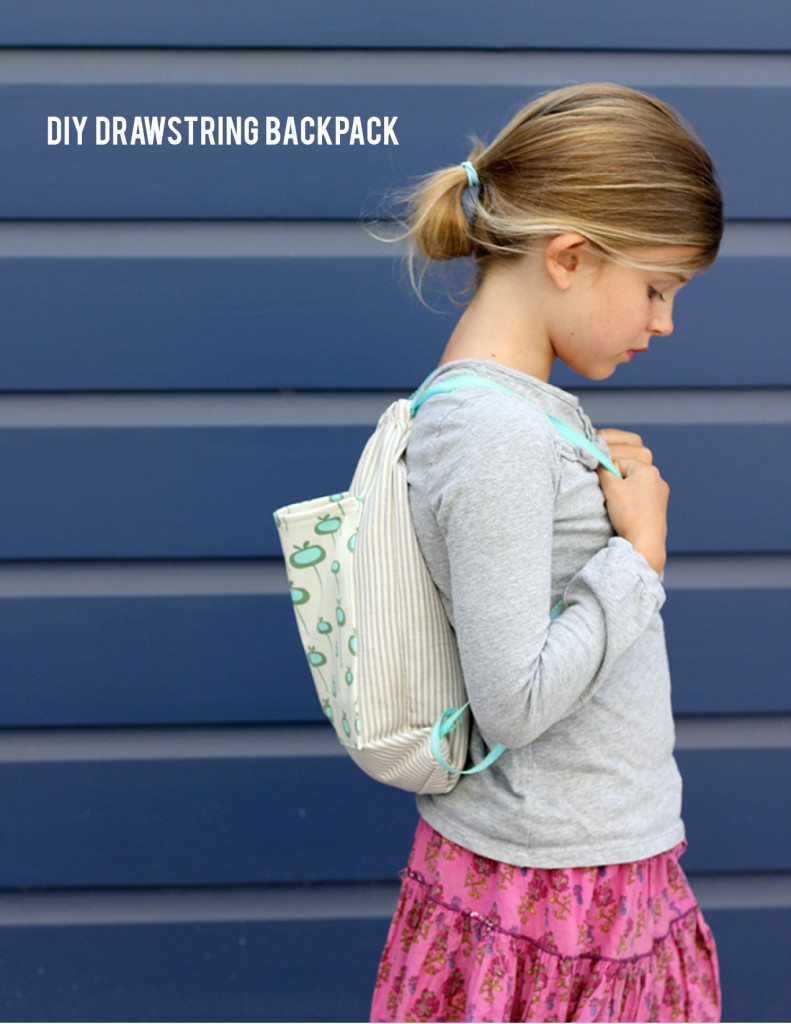
Seriously, what kid doesn’t want a little backpack to carry around their found treasures, books, gum, lip balm (or lip chap as my daughter, Harper calls it) and little trinkets? My girl might have plenty of little purses and bags, but I could not resist making her a new special one for our summer adventures.
I am sharing an easy tutorial for a drawstring backpack for kids. I made her a drawstring bag for her snacks for school – I love how easy these bags are! Read more for the full tutorial…

DIY Drawstring Backpack Supplies
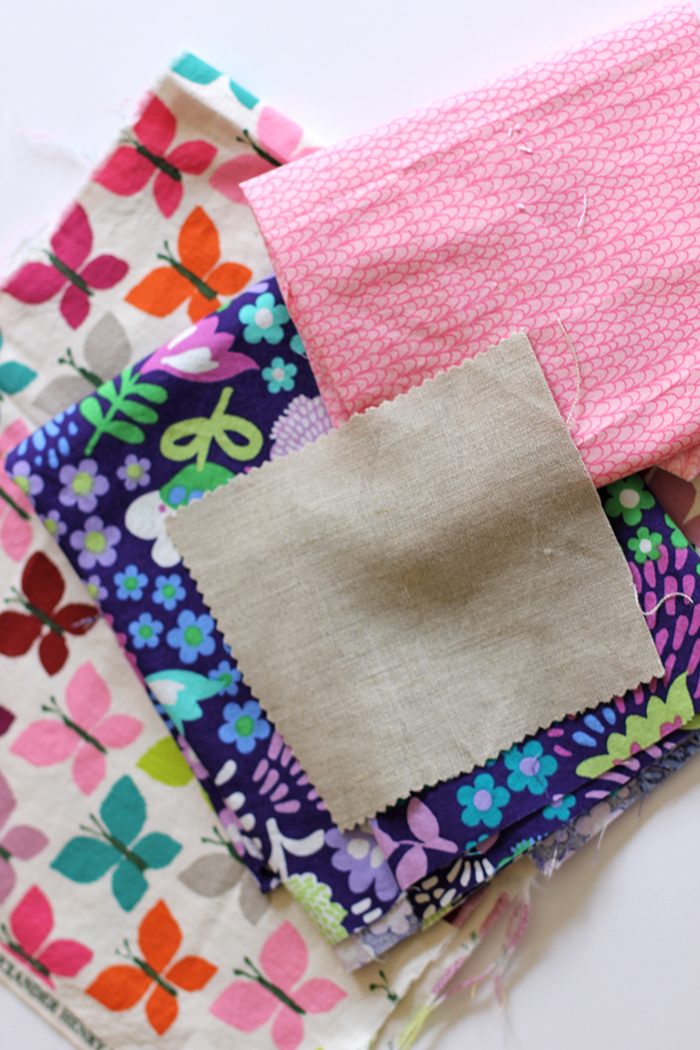
2 pieces of 12 x 15 in fabric
8 x 10 inches for outside pocket fabric
6 x 7 inside pocket fabric
2 pieces of 58 in of ribbon or cording
ribbon
sewing machine

DIY Drawstring Bag Steps
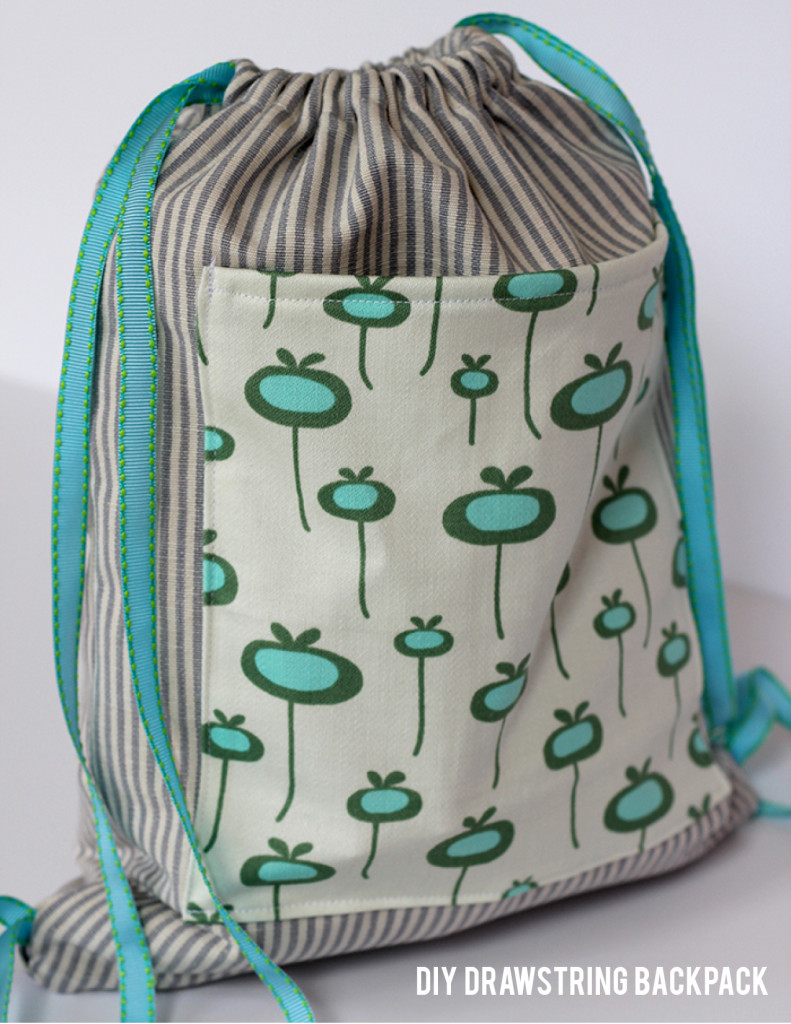
Step 1 – Cut all fabric. 2 pieces of 12 x 15 cotton fabric (I used a striped heavier canvas) and inside pocket fabric 6 x 7 inches. Also cut a piece of fabric for the outside pocket (I used a scrap piece of heavy weight Amy Butler fabric), 8 x 10 inches.
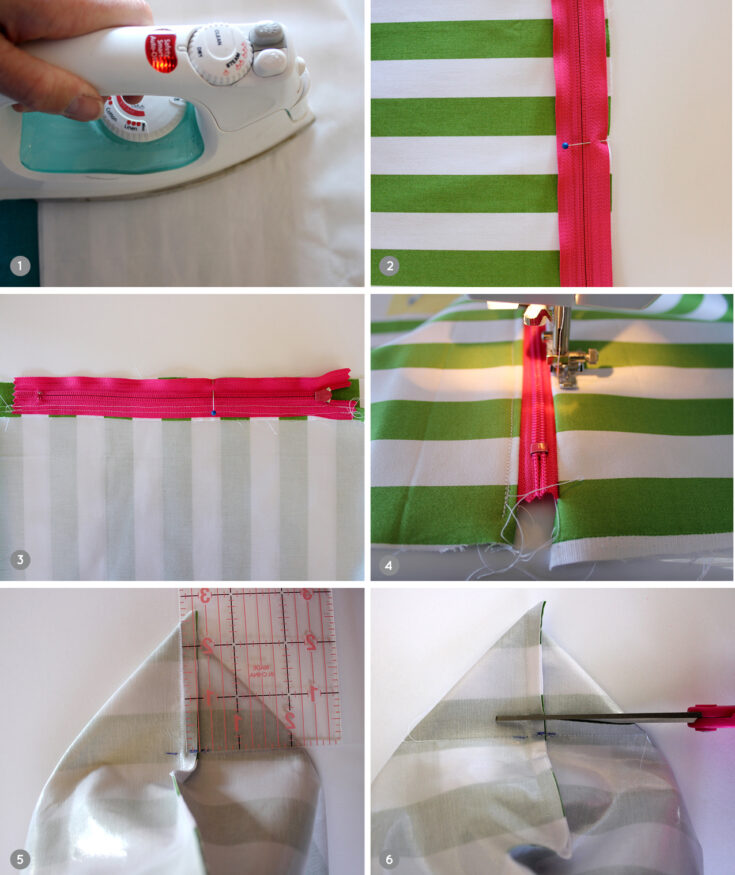
Step 2 – Iron the edges in on the outside pocket and sew the sides and bottom on the front of bag. I used the selvage for the top of the pocket. If no selvage edge, fold down the top twice and sew before sewing the pocket onto the bag.
Step 3 – Sew the inside pocket on the other piece of fabric. Do the same technique to iron and sew 3 sides onto the bag.
Step 4 – Next iron down sides and bottom of backpack 1.4 inches. Sew along the 3 edges. Leave the top side raw.
Step 5 – For top of back pack, measure and mark 2 1/4 inches down. Fold down 1/4 in and again to meet the mark. Press and sew to close to create an opening for the ribbons.
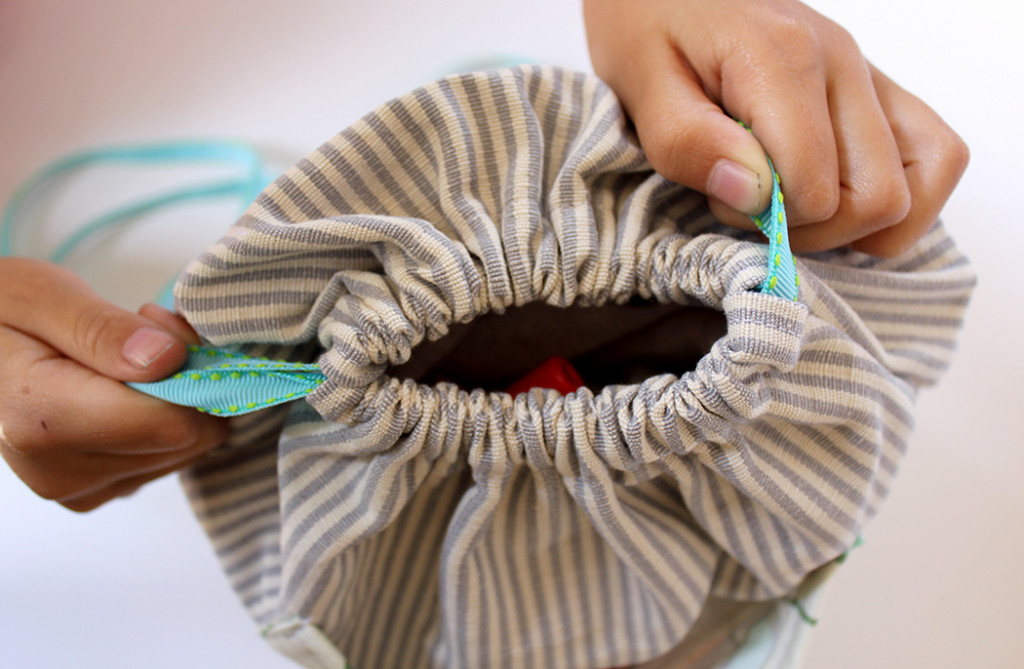
Step 6 – Place right sides of fabric together. Sew together starting and ending below the openings on the top of backpack. Now inside out the bag. Now attach a safety pin to the end of the ribbon. Start threading it through the front right of bag and go around until you reach the starting point. Do the same for the second piece of ribbon but start on the front left side of opening.
Step 7 – Tie the ends of the ribbon together on each side in a knot. Next you need to make an opening on the bottom corners of the bag to attach the knotted ends of ribbon to create backpack straps. Inside out the bag, use a seam ripper to make the openings on the bottom (see picture).
Step 8 – Pull the knotted ends through the opening and sew using a zig zag stitch. Trim the ends of the ribbon and seal.
Simple Sewing Projects
Check out some our favorite simple sewing projects. These are perfect for beginners! From potholders to hair accessories - we have you covered.
Don't be overwhelmed by the new (or old) sewing machine - these are some simple projects to practice your new sewing skills.

Learn how to make fabric ponytail holders using shibori indigo dyed fabric.
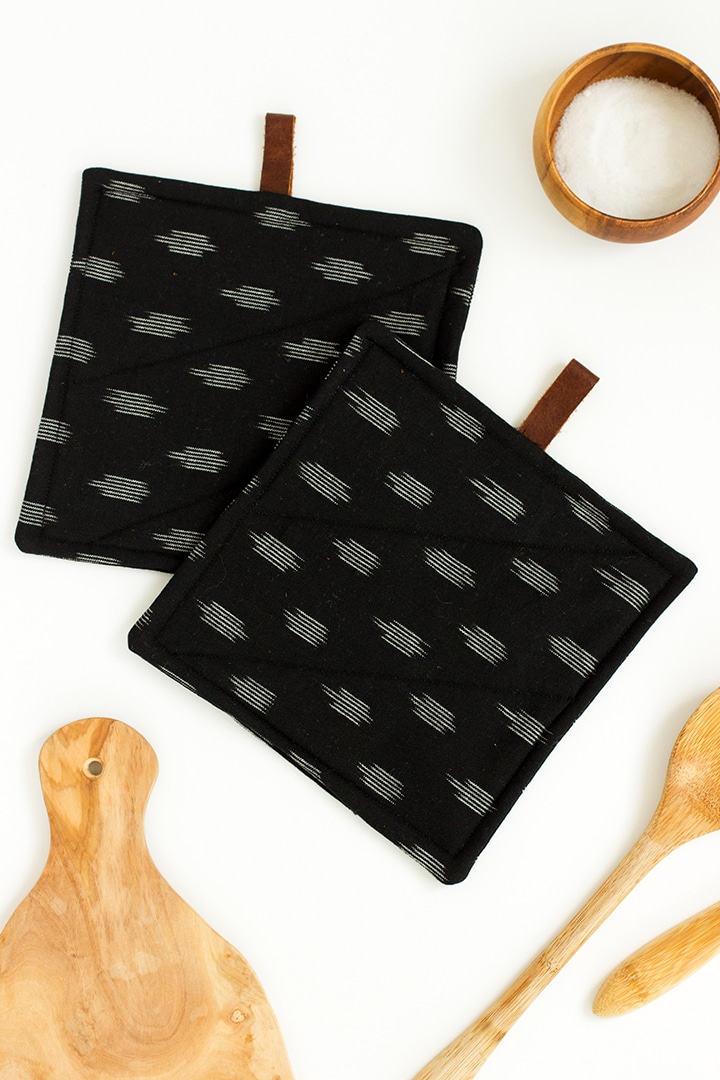
This is a great beginner sewing project - makes the perfect housewarming gift. We actually use cloth napkins as our fabric.

These fabric headbands are simple to make and so darn cute! This has been a Pinterest darling for many years.

I have used this tutorial over and over again to make curtains for my home. They are so easy to make!

Perfect for back to school this year! If you are afraid of sewing a zipper, you will have to try this tutorial.

We love this simple wall art project - see how to make this DIY Shibori Indigo Wall Hanging.

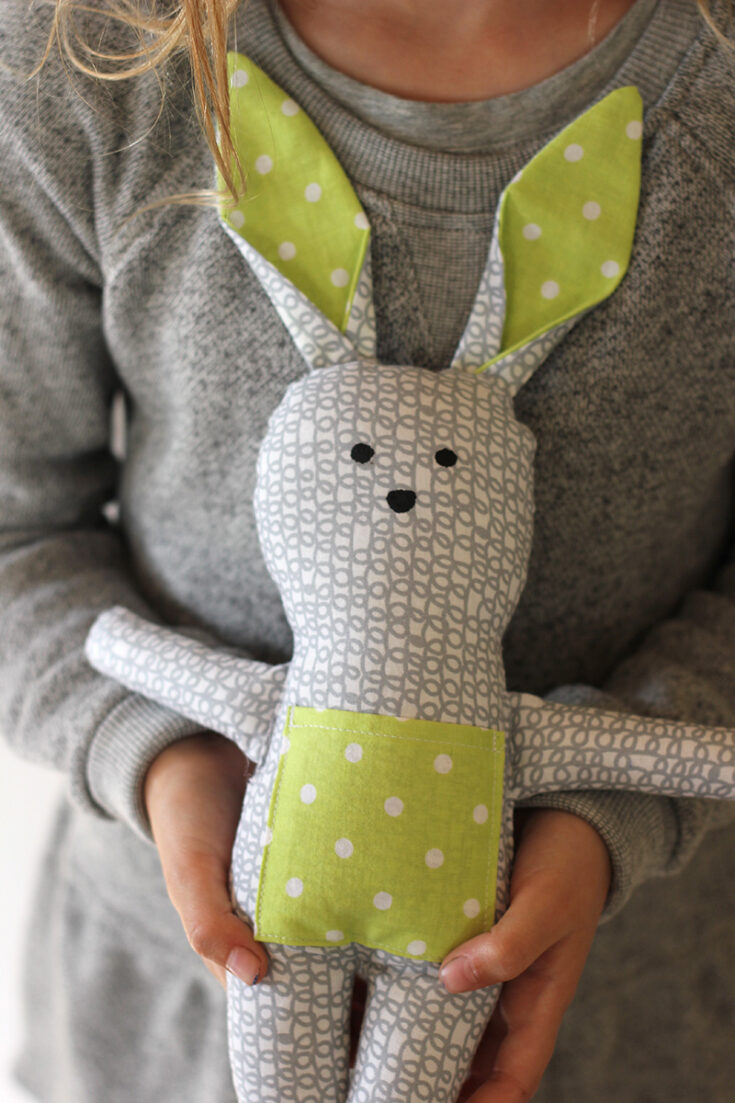
How cute is this bunny purse - can you believe it is handmade. Learn how to make it today. Your little girl will love this little purse.
Love this makeup pouch so much. Awesome simple sewing project. Makes a perfect little gift for friends.
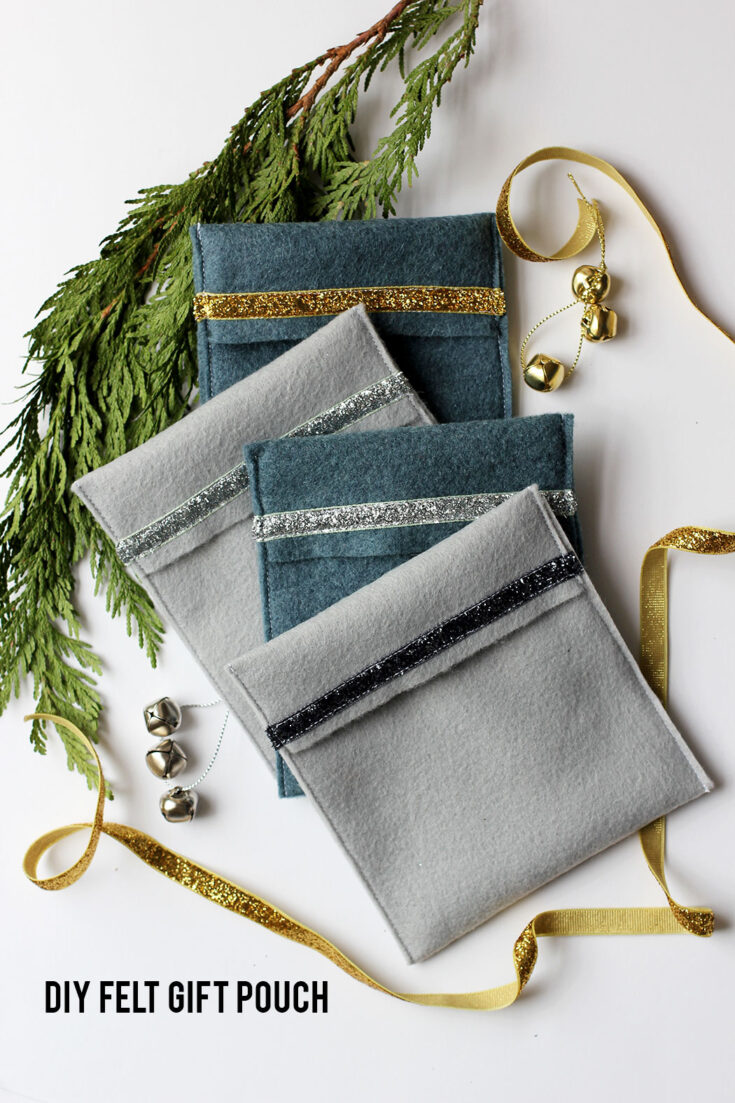
This is perfect for any giftcard or money gift that you give. Felt is so easy to sew with.
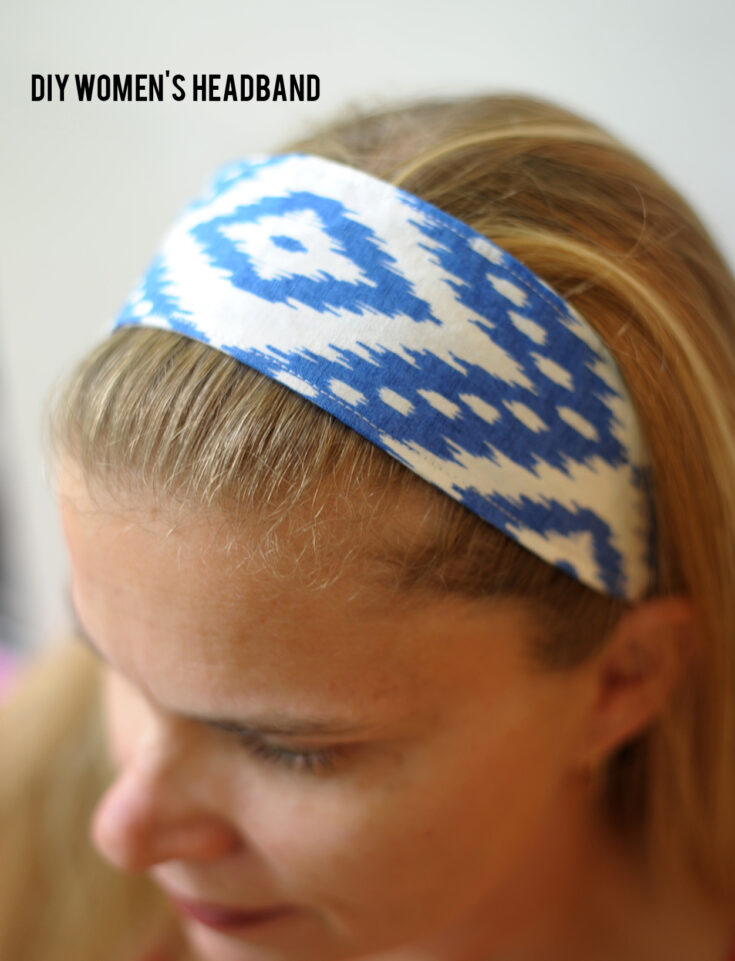
In love with this headband project (and the ikat fabric)! Once you make one, you will not want to stop.
If you haven't used the special plastic fabric lining for a wet bag - you must give this a try!
I mean, come on - how cute is this handmade tooth fairy pillow?!
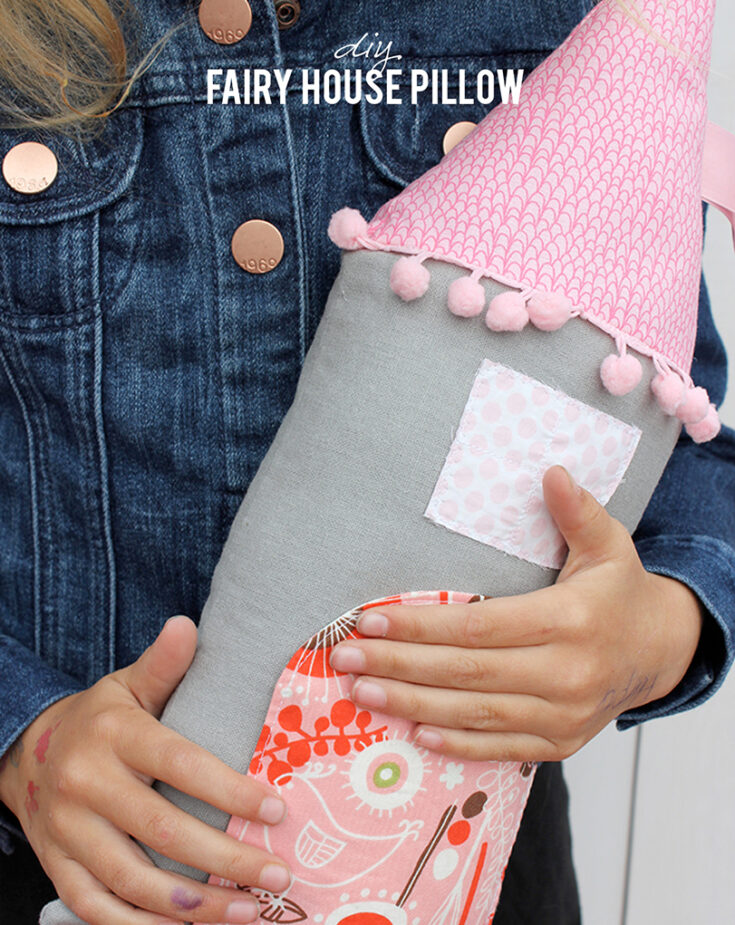
Our girls have been obsessed with their fairy house pillows and so are we!
Darling. Cutest little sewing project ever.
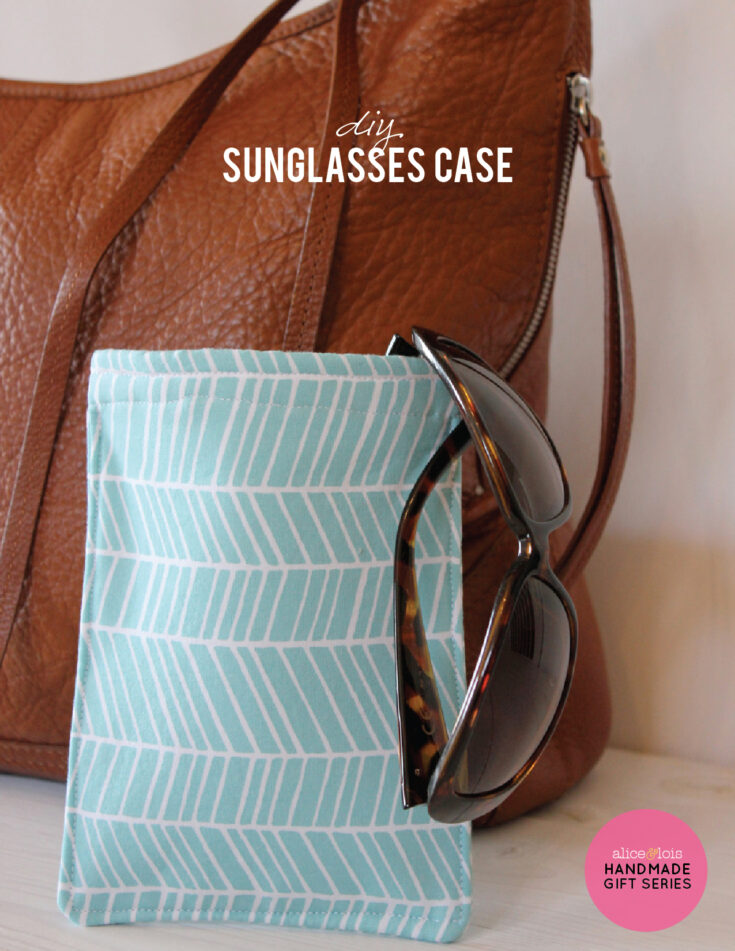
Love this simple glasses case made from fabric

This drawstring snack bag is the perfect beginner sewing project for you and the kids to make together.
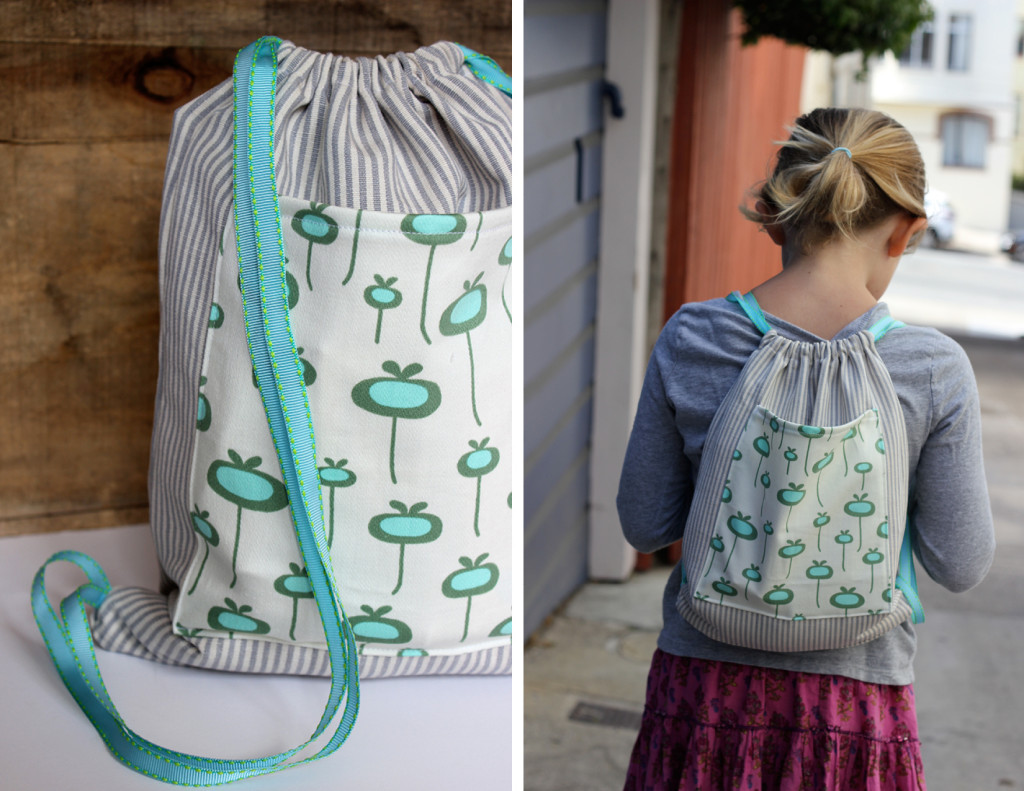

I hope your little one enjoys their new backpack as much as Harper does!
For more sewing DIYs try: rainbow T, baby bibs, girls fabric headbands.
Photos by Sara Albers for alice & lois design studios. All rights reserved.
– Sara


This is so sweet! Absolutely going on my “to sew” list for my little man. Thanks!
Enjoy and happy sewing!
Thank you for the pattern👍☺️
What a fun and easy sewing project! Perfect for summer camps or little treasures. Today I’ve featured your tutorial on Crafts on Display, I hope you enjoy it – https://craftsondisplay.com/sewing/easy-backpack-194248/
thanks for sharing! happy sewing!