DIY Ice Dye Cloth Napkins
Turn plain white cotton cloth napkins into art using our DIY Ice Dye Cloth Napkins tutorial. Simple and fun and the perfect summer project.
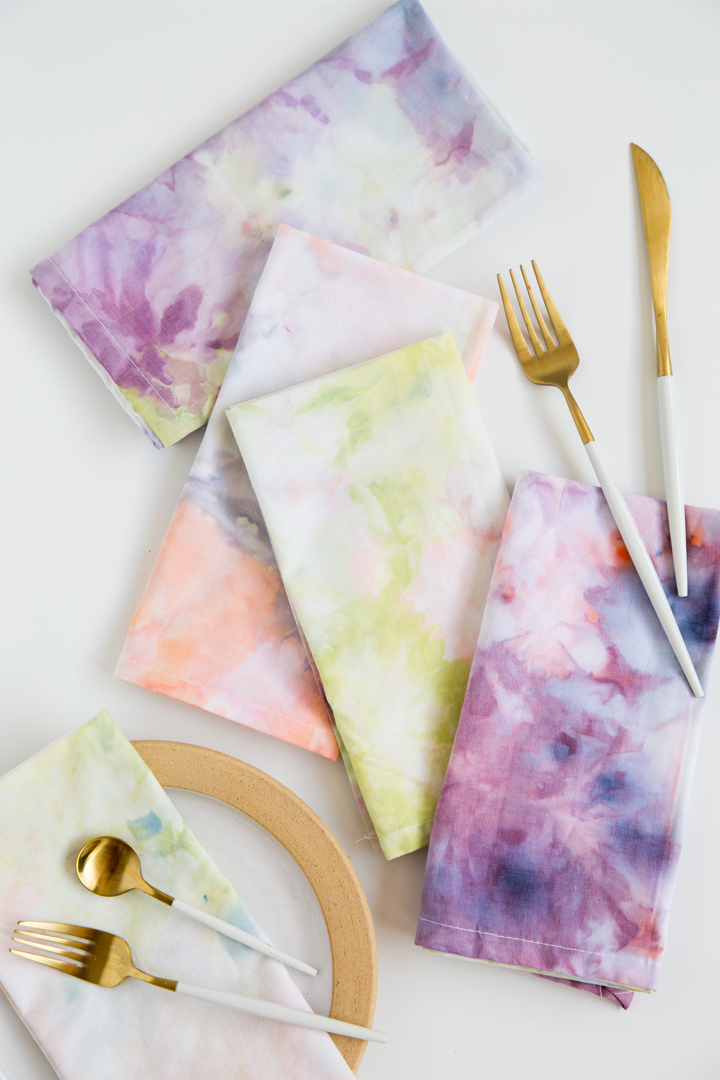
Turning a plain white cloth napkin into something special is a favorite craft project of ours. We have indigo dyed them, hand stamped some, and even made some to look like we hand painted using water colors… Today, we are so excited to share these beautiful DIY Ice Dye Cloth Napkins. Wouldn’t they make the prettiest gift?
If you haven’t experimented with ice dyeing yet, you are really missing out. This method of dyeing fabric is addicting. The powder fabric dye gives an almost water color effect on the fabric.
We used Jacquard Procion Fiber Reactive Dye for this project. The purple color is actually the brown rose dye, green is Avocado, orange is Peach and Rust Orange, and Blue is Aquamarine. It is absolutely amazing to watch the powdered dye change colors as the ice melts.
What is Ice Dyeing?
This is a method of dyeing using ice, (pre-treated) fabric and fabric dye. You can use natural fabrics like cotton, linen, wool, and silk. The fabric is washed and kept damp. Fabric can be pre-treated with salt, vinegar or soda ash (depending on fabric and dye that you use). Then ice is placed onto of bunched fabric and powder dye is applied to ice. The melting ice gives the water color effect as you allow the ice to melt over the fabric completely.

Ice Dye Cloth Napkins Supplies
Bin or tray
Ice
Gloves

Learn how to make these beauitful water color effect cloth napkins using the ice dyeing tie dye method These Ice Dye Cloth Napkins would make a darling hostess gift for friends. Or the perfect birthday gift for a friend. We recommend making a large batch of the cloth napkins at once so you can have them on hand for gifting. As an Amazon Associate and member of other affiliate programs, I earn from qualifying purchases.
DIY Ice Dye Cloth Napkins
Materials
Tools
Instructions
Notes
Recommended Products

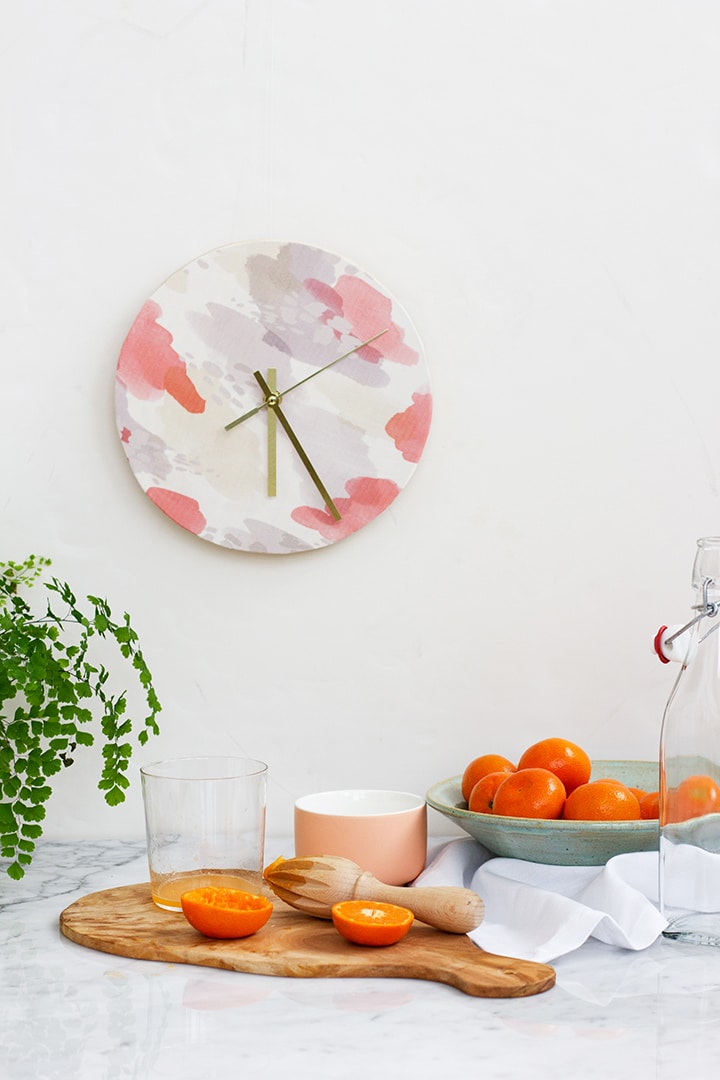
You can find more Ice Dyeing projects here:
Ice Dye Turkish Towels (beach towels)


How long are you leaving the dye on before washing? I do 24 hours but mine come out very intense and dark. I’m wondering if less time would yield more pastel results like these. Thanks.
We typically let the dye sit for 2 or 3 hours max. Enough to let the ice melt completely. The longer the dye sits, the deeper the color.
If I am making around 80 16×16 inch napkins, how much powder dye do you think I will need in total? I am considering buying the 4 colors of the Rit ProLine bags which are 1 lb. each but I’m worried that will be way too much.
oh, how fun. I have not done such a large quantity before so I am not sure. But I can tell you a little goes a long way.