DIY Ice Dye Tote Bag
Be summer ready with DIY Ice Dye Beach bag tutorial.

We absolutely love a good tote bag. I think we have inherited this trait of loving bags from our mom! If you love to add some personality to a plain canvas tote bag – this is our favorite one to use. It is big, has pockets and very durable. This turns into the most beautiful ice dye tote bag!
Now for the fabric dyeing method that we are just crazy about…
What is Ice Dyeing?
Ice Dyeing is a method of fabric dyeing using ice, (pre-treated) fabric and fabric dye. Natural fabrics like cotton, linen, wool, and silk will work the best. The fabric is washed and kept somewhat wet. Fabric can be pre-treated with salt, vinegar or soda ash (depending on fabric and dye that you use). Then ice is placed onto of bunched fabric (covered completely) and powder dye is applied to ice.
The melting ice gives the watercolor effect as you allow the ice to melt over the fabric completely. When using multiple colors of powdered dye, the dye can bleed or blend into each other showing different colors. Even if you only use one color of powdered dye, you can get hints of other colors that make up that one color. It is truly fascinating!
We have ice dyed cloth napkins and crew neck sweatshirts in the past. We even ice dyed turkish towels! Did you happen to see how we used powdered dyes this winter to do snow ice dye?! Make sure and check out the hooded sweatshirts we ice dyed as well!
What you need to make DIY Ice Dye Tote Bag
Powdered fabric dye – In the past, we used Jacquard Procion Fiber Reactive Dye and Rit powdered dye. But for this project, we used the Dharma Trading fiber reactive dyes.
Supplies
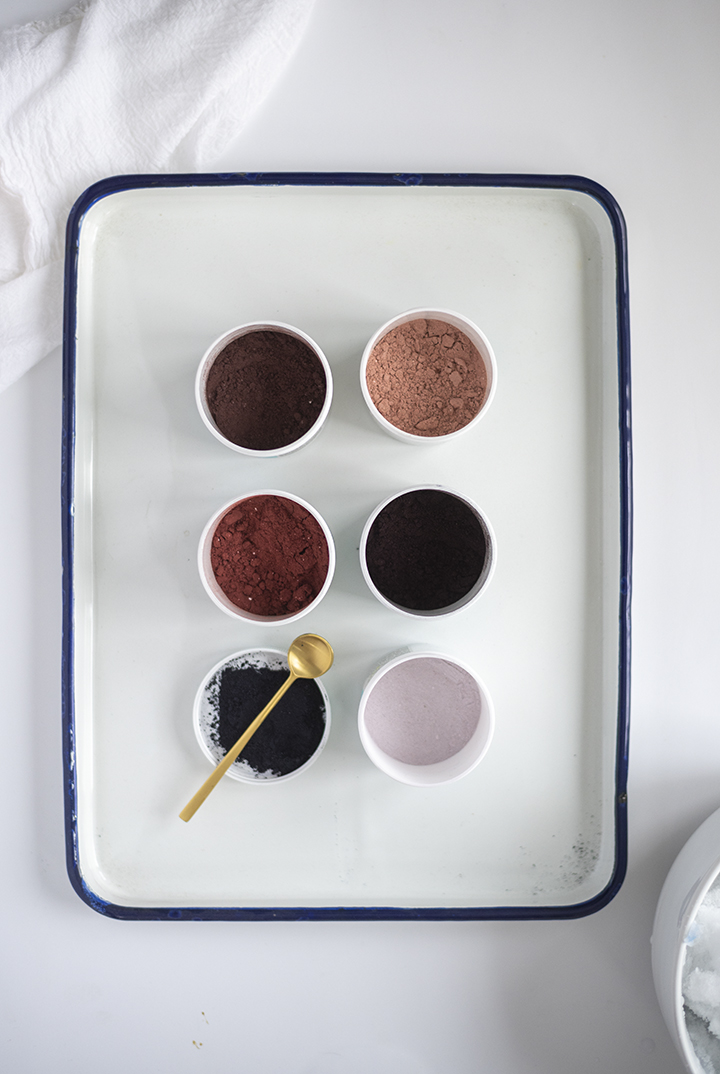
Dharma Trading fiber reactive dyes (we used indigo blue, amber waves, olive and powder pink)
Ice
Drying rack and bin
Soda Ash

How to make a DIY Ice Dye Tote Bag
-
- Prep the cotton tote bag. Wash with mild detergent to remove anything from fabric. Next soak the damp fabric in a soda ash warm water mixture. Follow instructions on soda ash label. I soaked mine for 20 minutes.
- Cover your work area (we use a white plastic tablecloth).
- Prep your supplies. Place drying rack over the tray or bin to catch the melting ice and dye. I often use cheap aluminum cooking pans and plastic lids.
- Remove fabric from soda ash bath. Wear gloves. Wring out the excess water. Bunch the fabric and place it on top of cooling rack.
- Place ice on top of the fabric.
- Now it is time to sprinkle powdered dye on to ice with a spoon. A little bit goes a long way! You do not need a large amount.
- NOTE: If you use mulitple colors of dye, leave a little room in between where you spinkle the powdered dye so the colors do not overly blend.
- Allow the ice to melt completely. Depending on how warm it is, this could take a few hours. You can lightly spray the ice with water.
- Rinse in the sink carefully.
- Wash and dry.
View this post on Instagram


When you ice dye a tote bag, does the bottom side of the bag get sufficient dye to look similar to the top side? I am planning to do a lined tote and think I will have to do both sides, one at a time, with something solid in between the sides. Your opinion??
I have not done a lined tote before. But traditionally we have not had to do the back side of anything – the ice will melt through. But you might have to using something lined.
Can this be done with a bucket hat?