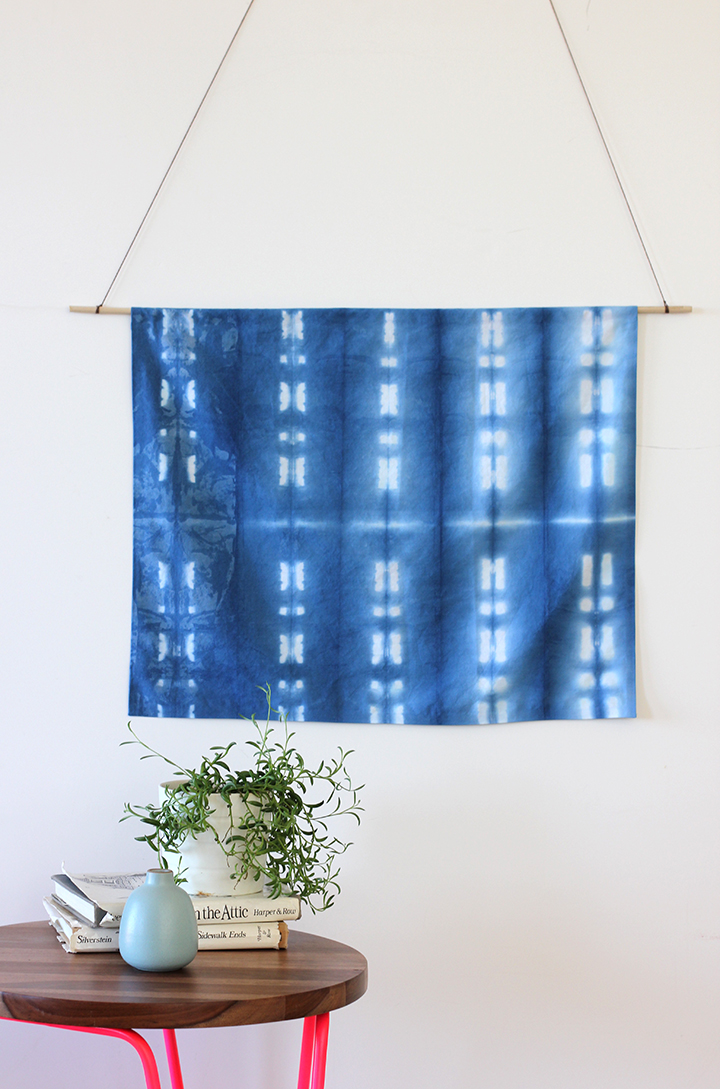
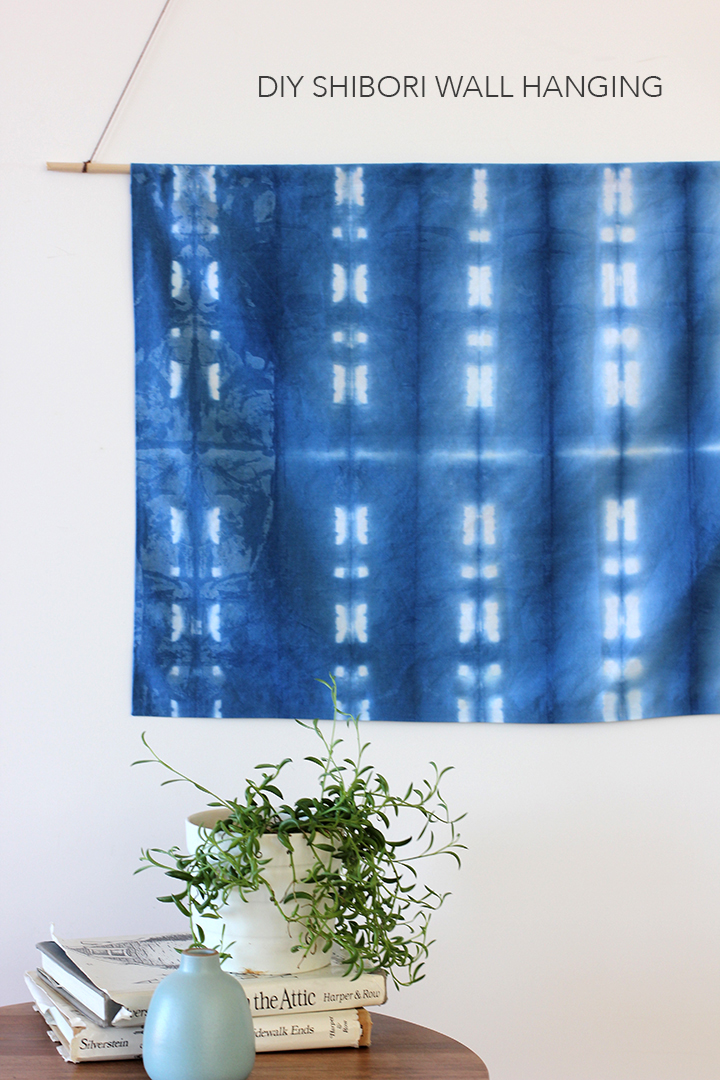
DIY Shibori Indigo Wall Hanging
We continue our obsession with hand-dyed indigo shibori fabric. I wanted to create a statement piece in my home with some newly dyed fabric.
I went the very simple route and made a no-sew wall hanging. This is a lovely way to showcase your handmade fabric designs.
One of the many things I love about the shibori technique is how it is so exciting to untie your dyed fabric to reveal your unique patterns. I chose a shibori design we created using under clips.
We love fabric dyeing so much that there is an entire section of our blog dedicated to it!
Read more for the full tutorial on how to make this DIY Shibori Indigo Wall Hanging…
DIY Shibori Indigo Wall Hanging Supplies
2- 5 gallon buckets
rubber bands
wood blocks or tiles
rubber gloves
drop cloth or trash bags
scissors
paint stick
PVC pipe
twine
For detailed steps on how to fold, bind and dye fabric with the binder clips, see our cloth napkins post here. We used the basic accordion fold and clips the sides with binder clips. For more detailed steps on how to do other shibori techniques see the tutorial for the shibori dish towels.

Wall Hanging supplies: shibori fabric // Iron-On Adhesive // 28 inch dowel rod // string // iron // scissors

Wall Hanging Steps:
1. Cut fabric to desired size. Pictured wall hanging is 23 ins width x 19 ins length. I cut my fabric at 24 ins width x 20.5 ins length.
2. Cut iron on adhesive tape to fit width and length for easy hemming. Fold the fabric over the tape and press wit hot iron. You could also use a sewing machine to hem edges.
3. Fold the corners at an angle to create a clean edge. Iron the two sides and bottom hem. To create pocket on the top for the rod to slide into, fold the fabric down one inch and iron with tape under. Make sure to leave an opening for rod.
4. Tie string on each end of dowel rod.
Hang on wall and enjoy the beautiful fabric that you created!

Photos by Sara Albers. all rights reserved.


2 Comments