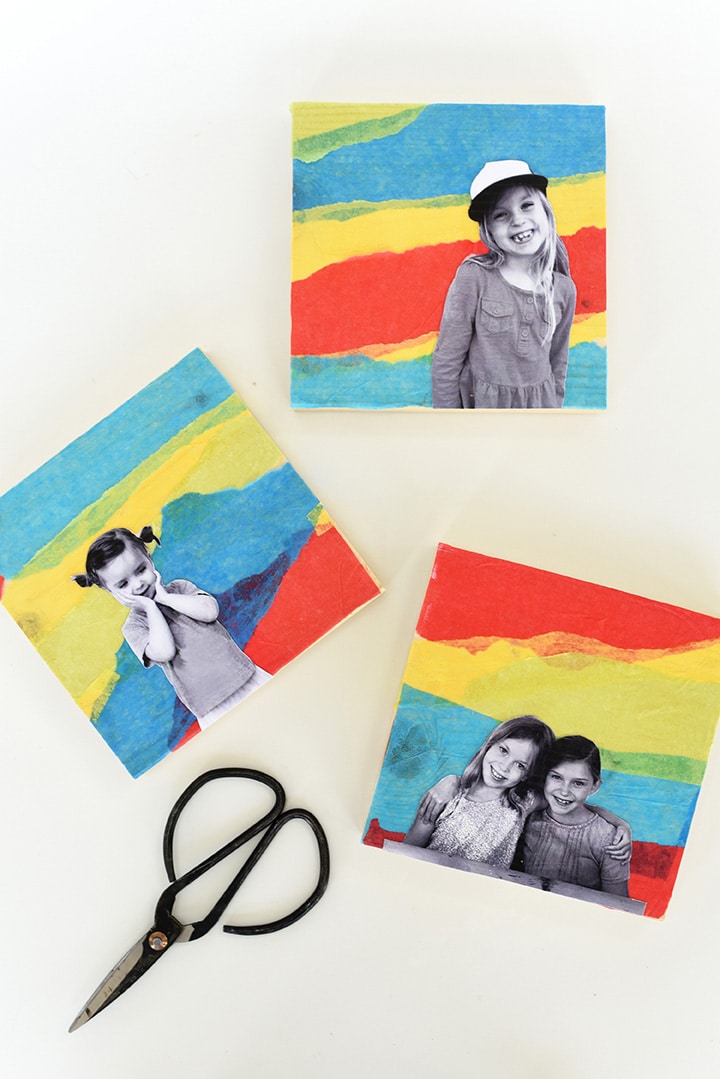
DIY Tissue Paper Collage Wall Art
All thoughts and opinions are my own.

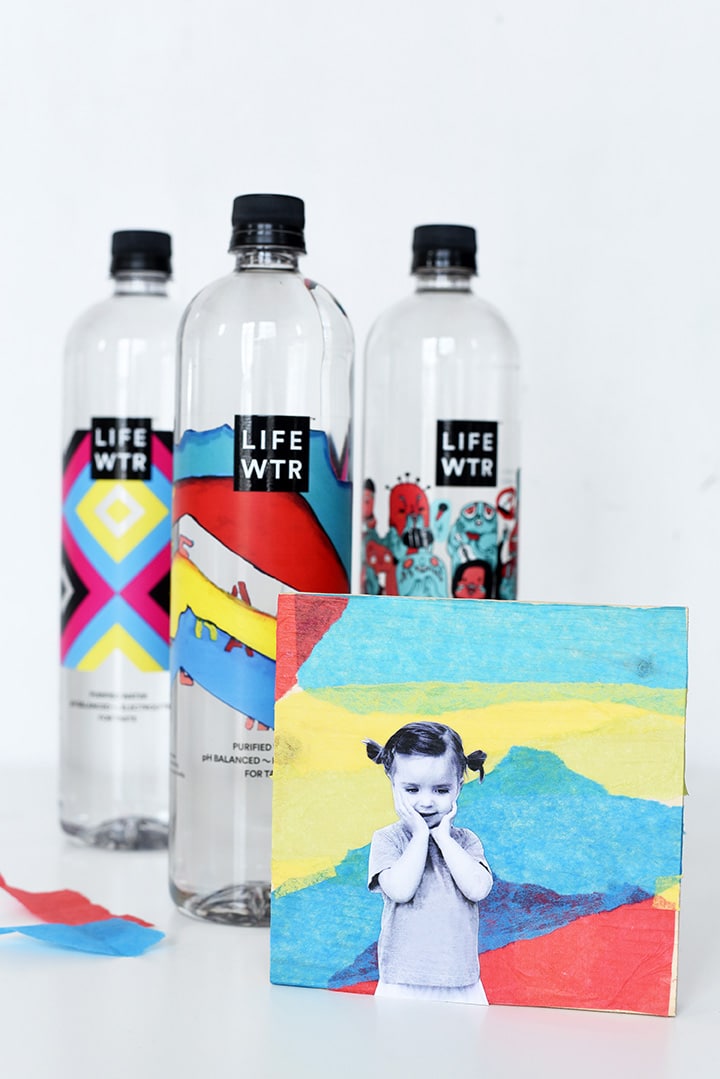
We’re partnering with LIFEWTR and 7-Eleven to bring you this DIY Tissue Paper Collage Wall Art project that we dreamed up using their bottles as inspiration. As you guys know, art is a big part of our lives and our kids’ lives too. We’re excited to share this tutorial because it’s easy to execute, only takes a few supplies and looks so good on the wall of your home!
This latest series of bottles from LIFEWTR are both beautiful and inspiring. They collaborate with artists throughout the year and feature their work on their bottles. Every few months, three new artists are put in the spotlight by LIFEWTR.
Luis Gonzalez, a Boston native and high school senior, is the artist behind one of the bottles in the Series 4 collection. My girls and I were drawn to its explosion of color.
You can learn more about the Series 4 “Arts in Education” initiative here!
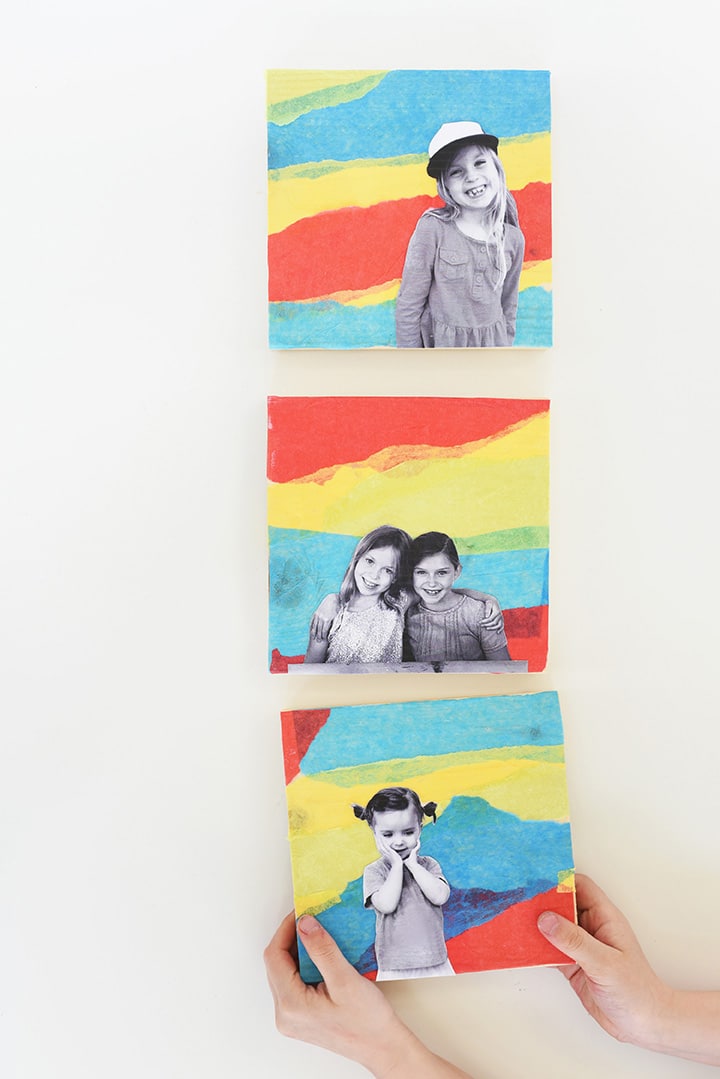
Using Luis’s design as our starting point, we took primary colors of tissue paper to create wood block wall hangings featuring some black and white images of our girls. There are just a few simple steps to follow to create these pieces of wall art!
DIY Tissue Paper Collage Wall Art
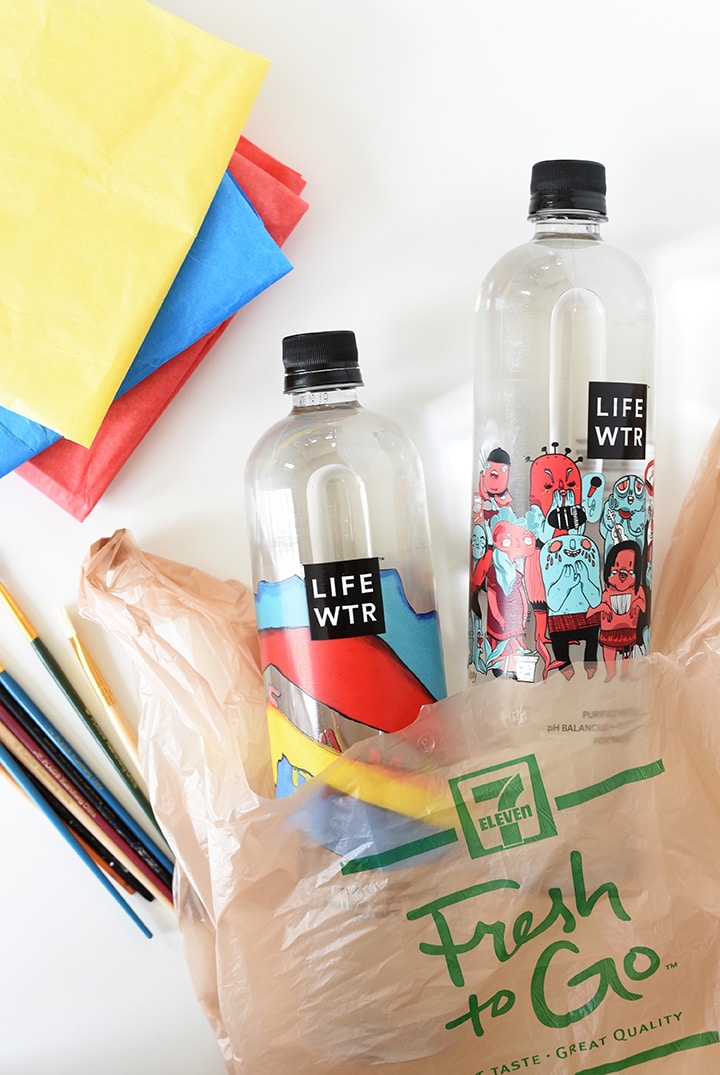
Supplies: wood square blocks, tissue paper, decoupage adhesive, paintbrush, scissors, black and white photos
Steps:
Step 1: Choose your photos! I decided to use some of my favorite photos of the girls. I printed them in black and white on card stock, sized to fit my wood block.
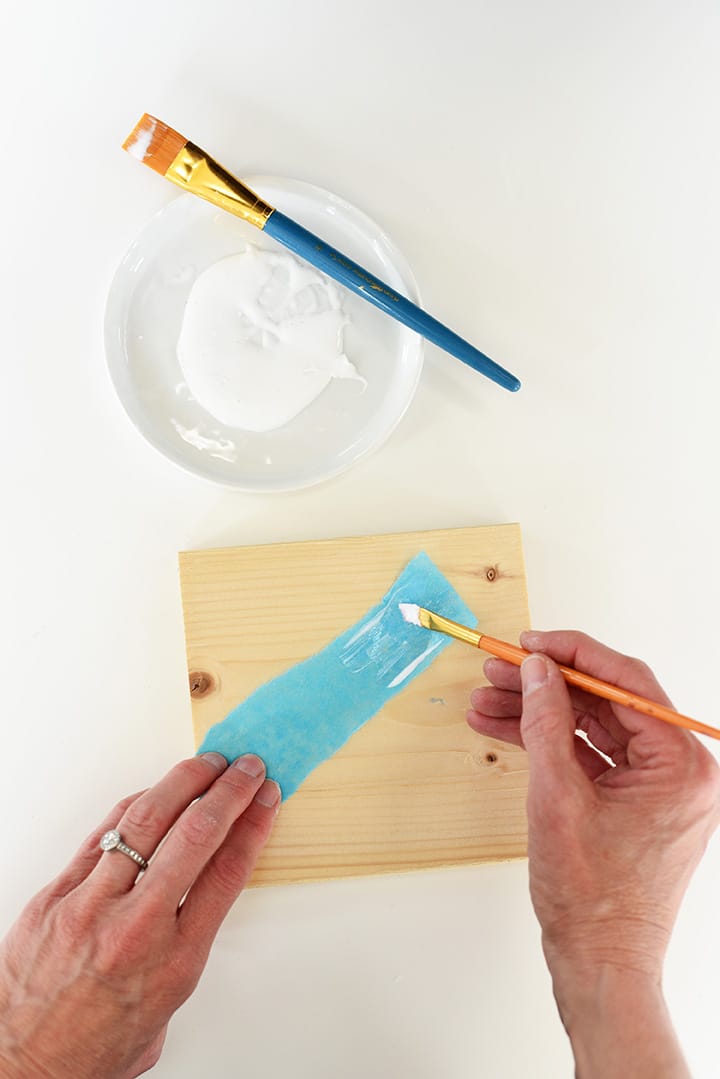
Step 2: Tear off pieces of tissue paper. I chose to go with loose vertical stripes. I love the hand-torn look of tissue paper that overlap each other.
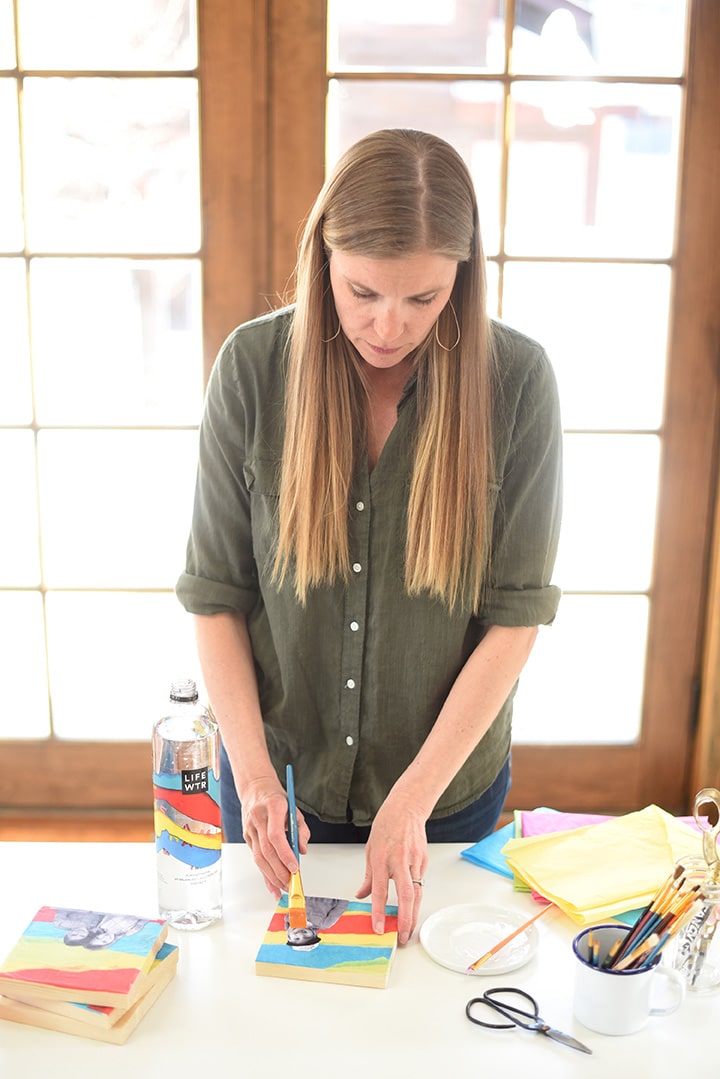
Step 3: Brush on a thin layer of decoupage adhesive to the back of your torn piece of tissue paper and place on wood block.
Step 4: With your fingers, secure piece of tissue paper to wood and smooth out any air bubbles. Fill entire wood block with tissue paper pieces.
Step 5: Cut out picture. I wanted just the person in my photo, so I cut out just the figure.
Step 6: Brush on a layer of decoupage adhesive to the back of the image, then press it onto the wood block.
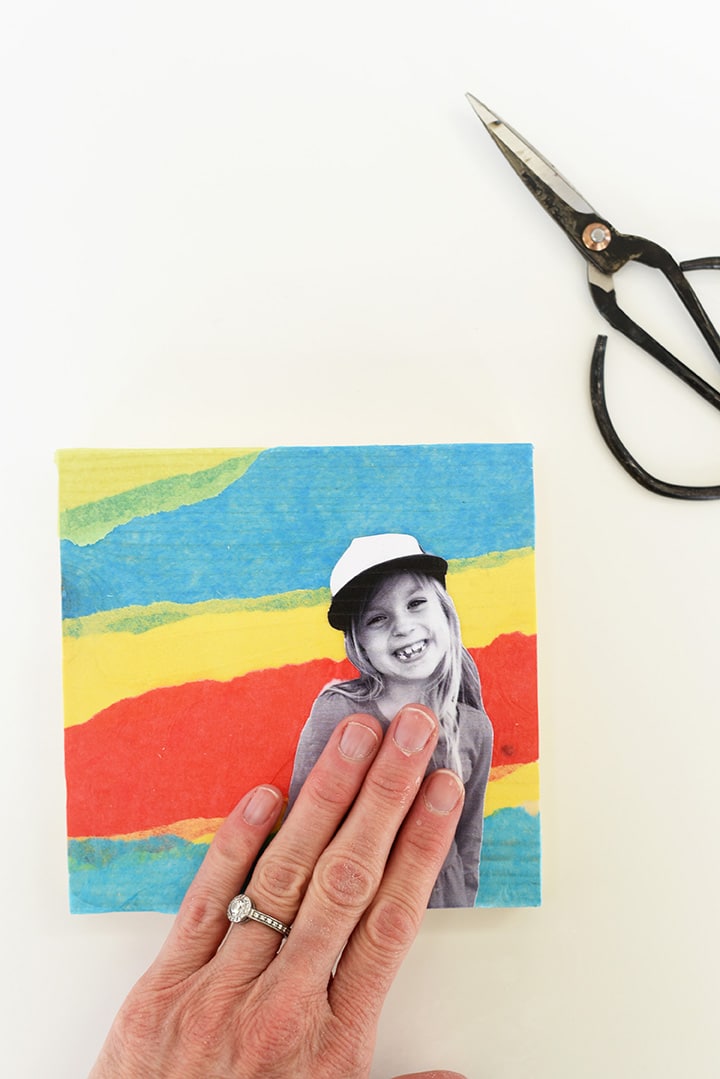
Step 7: Brush a thin layer of decoupage adhesive over image and tissue paper. Let dry and hang! I like to hang with removable hanging strips.
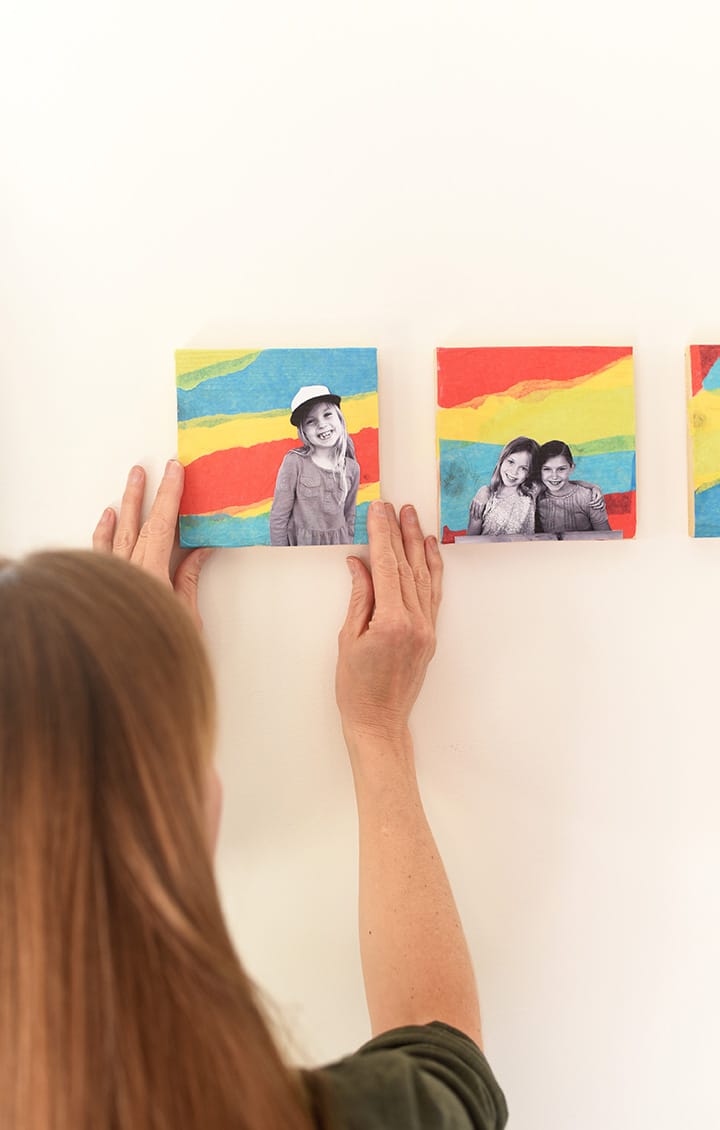
We used just one photo on our wood blocks, but you could layer on multiple photos, or pictures from magazines or a newspaper to tell a story. As for the wood blocks, you can use any size you like. We had some 5 and a half-inch square blocks cut at the lumberyard for this project. But you could use plywood pieces too and cut them in any size you’d like. I would just suggest using cabinet grade.
One thing I love about using the 5×5 pieces is hanging them in trios or more on my wall. But wouldn’t it be fun to do a large-scale wall hanging with this tissue paper technique?
The girls (ages 4 and 8) loved working on this project too. It’s most definitely a kid-friendly art project. Poppy, my four year old, especially loved tearing the tissue paper and gluing it on the wood. Calla, my eight year old loved creating her abstract patterns with the paper pieces.
The LIFEWTR Series 4 bottles revolve around the theme Arts in Education, which celebrates the long-lasting impact that art education has on our lives, all the way from childhood into adulthood. The series features the work of three young artists who have discovered the empowerment that comes with creativity and demonstrated the importance of early art education in instilling the values necessary for a more inspired future.
You can find more LIFEWTR inspiration here!
In further support of art education, LIFEWTR teamed up with Scholastic, the world’s largest publisher and distributor of children’s books, as well as other community programs in the U.S. to provide classroom art kits, and to fill the gaps in communities where children and youth do not have access to art in school.
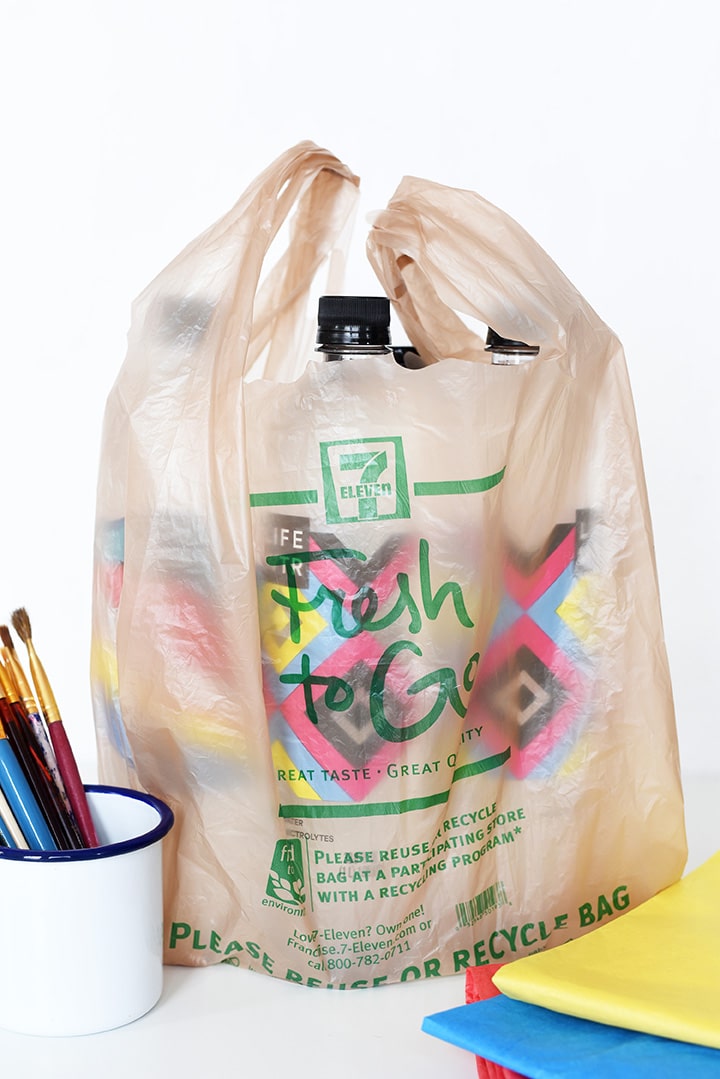
It’s easy to find LIFEWTR when you shop, such as when you’re running into your local 7-Eleven. We love picking out our favorite LIFEWTR bottle in the refrigerated area of 7-Eleven. You never know where you’re going to find inspiration! My girls are in love with David Lee’s geometric artwork on the Series 4 bottle right now. We can’t wait to start a new art project inspired by Lee’s bottle!
This spring, LIFEWTR will be releasing their Series 5 bottles: Art Beyond Borders. Can’t wait to see the new inspiring work on those bottles!
photos by Melissa Fenlon

I love these! They are so fun, colorful and creative! I want to make these of our daughter. They would make great gifts too. Is there anyway you could make these into coasters by sealing the top with the decoupage adhesive, or do you think it just tear the tissue paper?
-Felicia
http://www.casalibrablog.com
I love these! They are so fun, colorful and creative! I want to make these of our daughter. They would make great gifts too. Do you think you could make these into coasters by sealing the top with the decoupage adhesive, or do you think they would just tear the tissue paper?
-Felicia
http://www.casalibrablog.com
Thanks, Felicia. And I love your idea of coasters! You could use a hard coat decoupage!
This is such a fun DIY project! I love the use of tissue paper and how it makes such a lovely backdrop for the photos.
Thanks, Amy!
This is SUCH a cute DIY — and I love the Lifewtr initiative! How amazing that they are featuring young artists, too. That must be so inspiring for your girls!
So inspiring!
Such a nice idea… thanks! I’ll include it in my paper-themed newsletter this week.
thanks!
I’m positively smitten with how this turned out!! I love how you were able to take direct inspiration from the water bottles—so smart!
Thanks so much, Carrie!
This is such a vibrant, beautiful craft, and I can’t over how well it matches those bottles!!!
I loved it a perfect way to put Pictures of my daughter’s two children and my son three children together in pictures. Especially they have not talk for 6 years.
Thanks your a Doll.
Sincerely
Dar
Love this! For the black and white photos, did you just print from your regular printer or are they on photo paper?
regular printer on regular paper!