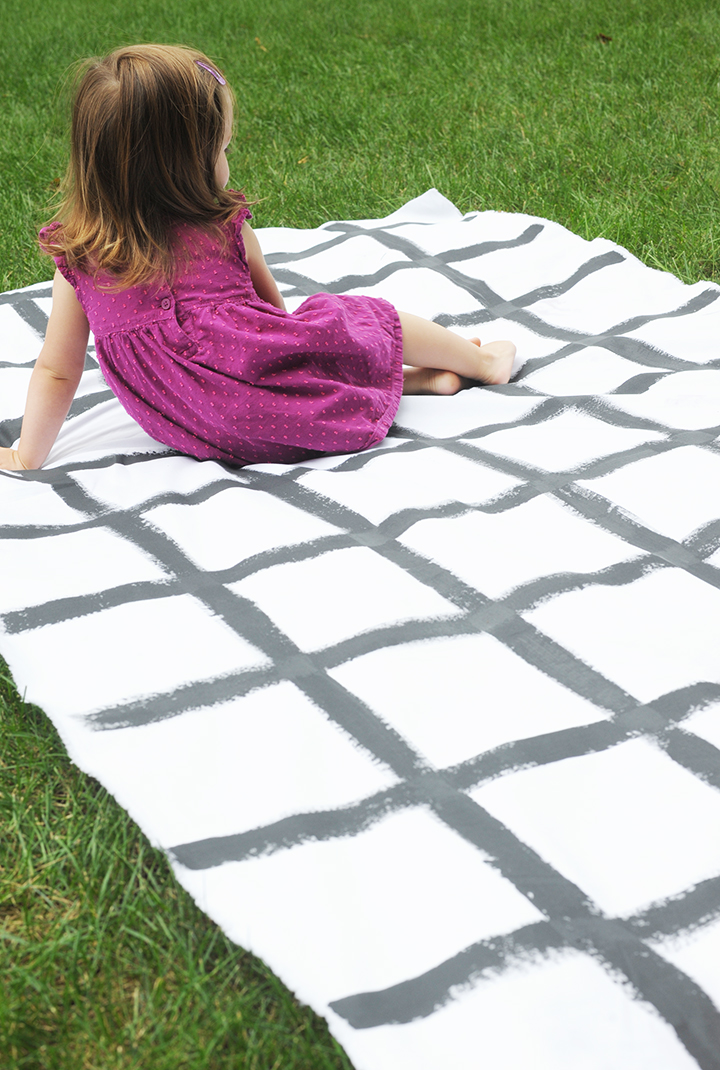
DIY Hand-Painted Picnic Blanket

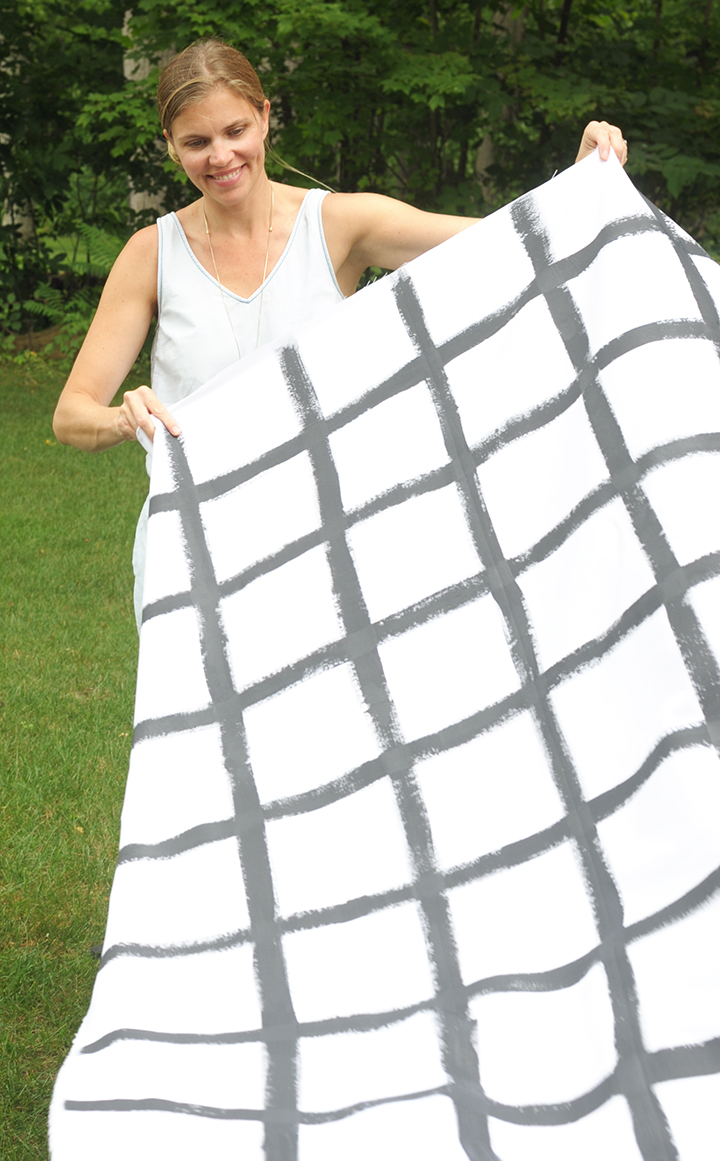
We were out shopping the other day and spotted a great graphic black and white grid skirt. The print inspired us to create the perfect DIY picnic blanket. It’s simple in its grid pattern and still a bit bold with the black paint strokes against the white background. We used a few yards of white fabric and black fabric paint. Get ready for your next picnic with this simple project!
Here are some of our favorite picnic foods and drinks: Filo tomato Tart, sweet potato chips, Barbecue Chicken Sandwich with roasted jalapeno aioli, lemon bars, and watermelon margaritas.
Read more for the full tutorial for the DIY Hand-Painted Picnic Blanket.

Supplies:
2 yds. 100 percent cotton, black fabric paint, 1 inch paintbrush, ruler, pencil, Iron on Adhesive tape.
Steps:
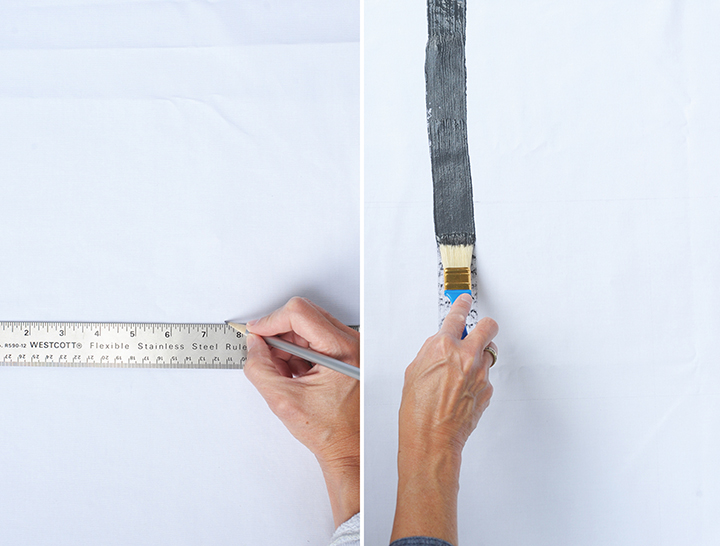
- Lay out your 2 yards of fabric on a flat service
- Measure out your grid. We did 7 and a half inch lines going horizontal and vertically. We also drew in the lines faintly with a pencil.
- Start painting your thick lines along pencil lines.
- Let dry according to directions on fabric paint. Once dry, iron the picnic blanket to set the paint.
- You can leave the edges raw or hem. And by hem we mean no-sew! Use iron-on adhesive to finish the edges. We chose to keep the selvage edges on the sides, put finished the top and bottom edges.

photos by Melissa Fenlon and Sara Albers. all rights reserved.


beautiful, excellent idea! goes right up un my list…
Thanks! It makes a lovely picnic blanket and tablecloth!
THis is gorgeous! But I’m also baffled by your awesomely straight grid lines.
Thanks Cyd! Measuring tape and pencil. =)
This is so perfect! Pinning now!
Thanks Rachel!
This is so cute! The pattern is perfect 🙂